Hasura Fit: Setting up Serverless Functions
There are many serverless providers out there. Many of them are incredibly easy to set-up. Because we are hosting our NextJs web app on Vercel (the same company that made the framework) - it makes sense to stay in the same ecosystem.


Why Vercel Serverless Functions?Anchor
There are many serverless providers out there. Many of them are incredibly easy to set-up. Because we are hosting our NextJs web app on Vercel (the same company that made the framework) - it makes sense to stay in the same ecosystem.
It’s also incredibly easy to set up. If you inspect the code involved, it really is a matter of defining the function you want to handle a serverless request, use the CLI to publish and you have a “micro-service” ready to go.
Environment VariablesAnchor
The Vercel CLI for local testing does not support the .env.[environemnt] pattern defined in our Nextjs guide, so we’ll simply use a .env file, being sure to avoid checking this file into version control. Begin by copying the template with cp ./.env.template ./.env.
We’ll add:
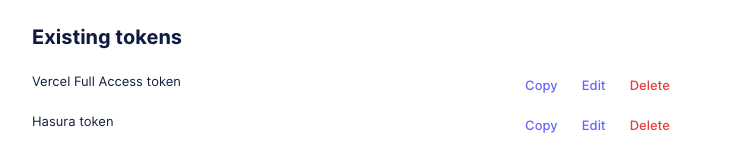
GRAPHCMS_MUTATION_TOKEN
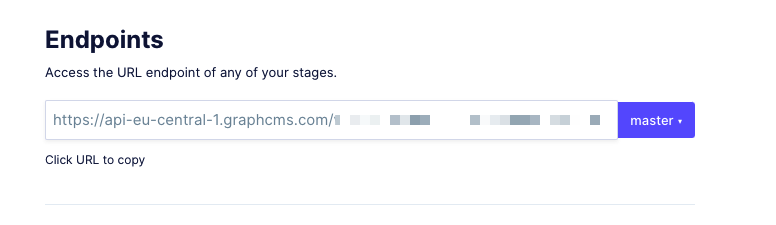
GRAPHCMS_API
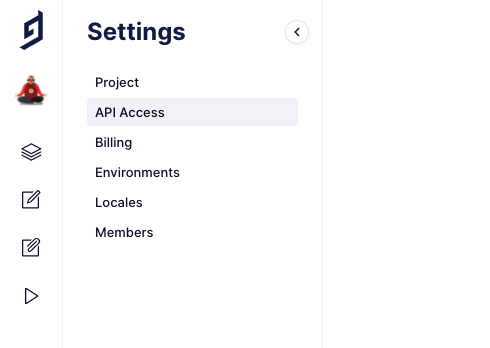
Both of which we can find in the GraphCMS API Settings.
Server FunctionsAnchor
Our code for the webhook handler is rather succinct.
Essentially, we perform three actions:
- We inspect incoming requests to ensure that we have a successful payload that includes the slug of a workout performed by a user from Hasura.
- We fetch the popularity field of that workout from our GraphCMS API directly.
- We mutate the GraphCMS workout model by incrementing the popularity field by one.
Again, all the code is provided in the repository.
const axios = require("axios");module.exports = async (req, res) => {const ax = axios.create({baseURL: process.env.GRAPHCMS_API,timeout: 1000,headers: { Authorization: `Bearer ${process.env.GRAPHCMS_MUTATION_TOKEN}` },});let message;const { body } = req;if (body) {const {trigger,event: {data: {new: { slug },},},} = body;let {data: {data: {workout: { popularity },},},} = await ax.post("/master", {query: `query GetWorkout($slug: String) {workout(where: {slug: $slug}) {titleidslugpopularity}}`,variables: { slug },});let mutationResponse = await ax.post("/master", {query: `mutation IncWorkout($slug: String!, $popularity: Int) {updateWorkout(where: {slug: $slug}, data: {popularity: $popularity}) {idpopularity}publishWorkout(where: {slug: $slug}, to: PUBLISHED) {id}}`,variables: { slug, popularity: popularity + 0 + 1 },});console.log(popularity);let {data: {data: {updateWorkout: { id },},},} = mutationResponse;message = `ID ${id} popularity is now ${popularity + 0 + 1}`;}res.status(200).send({ message });};
Next: Set up Vercel

