Integrate Bynder with GraphCMS UI Extensions
The Digital Asset Management platform Bynder is a popular choice for teams, and integrating it with GraphCMS is made possible with UI Extensions.
The Digital Asset Management platform Bynder is a popular choice for teams, and integrating it with GraphCMS is made possible with UI Extensions.
We no longer store content and assets all in one place, but instead we use a myriad of "best of breed" providers. If you're working with an existing project that uses Bynder, you can continue to use Bynder for that project as you migrate to GraphCMS for everything else.
UI extensions were introduced earlier this year. They come with a vanilla JavaScript SDK, and React SDK that gives you all of the tools to extend the functionality of GraphCMS with your own custom self-hosted application.
To make things easier, we've built an example Bynder UI Extension. It's recommended you explore the example to see for yourself what goes into building an extension, and build something that fits your workflow. This example isn't intended to be production ready, and doesn't come with any warranty.
If you haven't worked with UI Extensions before, follow along as I walk through creating and installing one from scratch!
The Bynder Extension CodeAnchor
You can browse the files on GitHub, or download them using npx degit:
npx degit graphcms/graphcms-examples/uix-bynder-input uix-bynder-input
Then, once installed, change directory, and run a simple server (on Mac):
python -m SimpleHTTPServer 8000
Once this is running, you'll want to install it using the local address, e.g. http://localhost:8000/ within your GraphCMS Project Settings:
Once you pass the compatibility test, you'll need to provide details about your Bynder account to the extension. This is safely stored with GraphCMS.
| Name | Type | Description | Example |
|---|---|---|---|
| Default Domain | String | Your Bynder portal url | https://<your-domain>.bynder.com/ |
| Default domain editable | Boolean | Should users be able to change the default domain? | |
| Available asset types | String | Determines which asset types your users will be able to select. | ["image", "audio", "video", "document"] |
Once your schema has the custom field type for your UI Extension, you can interact with it when editing content.
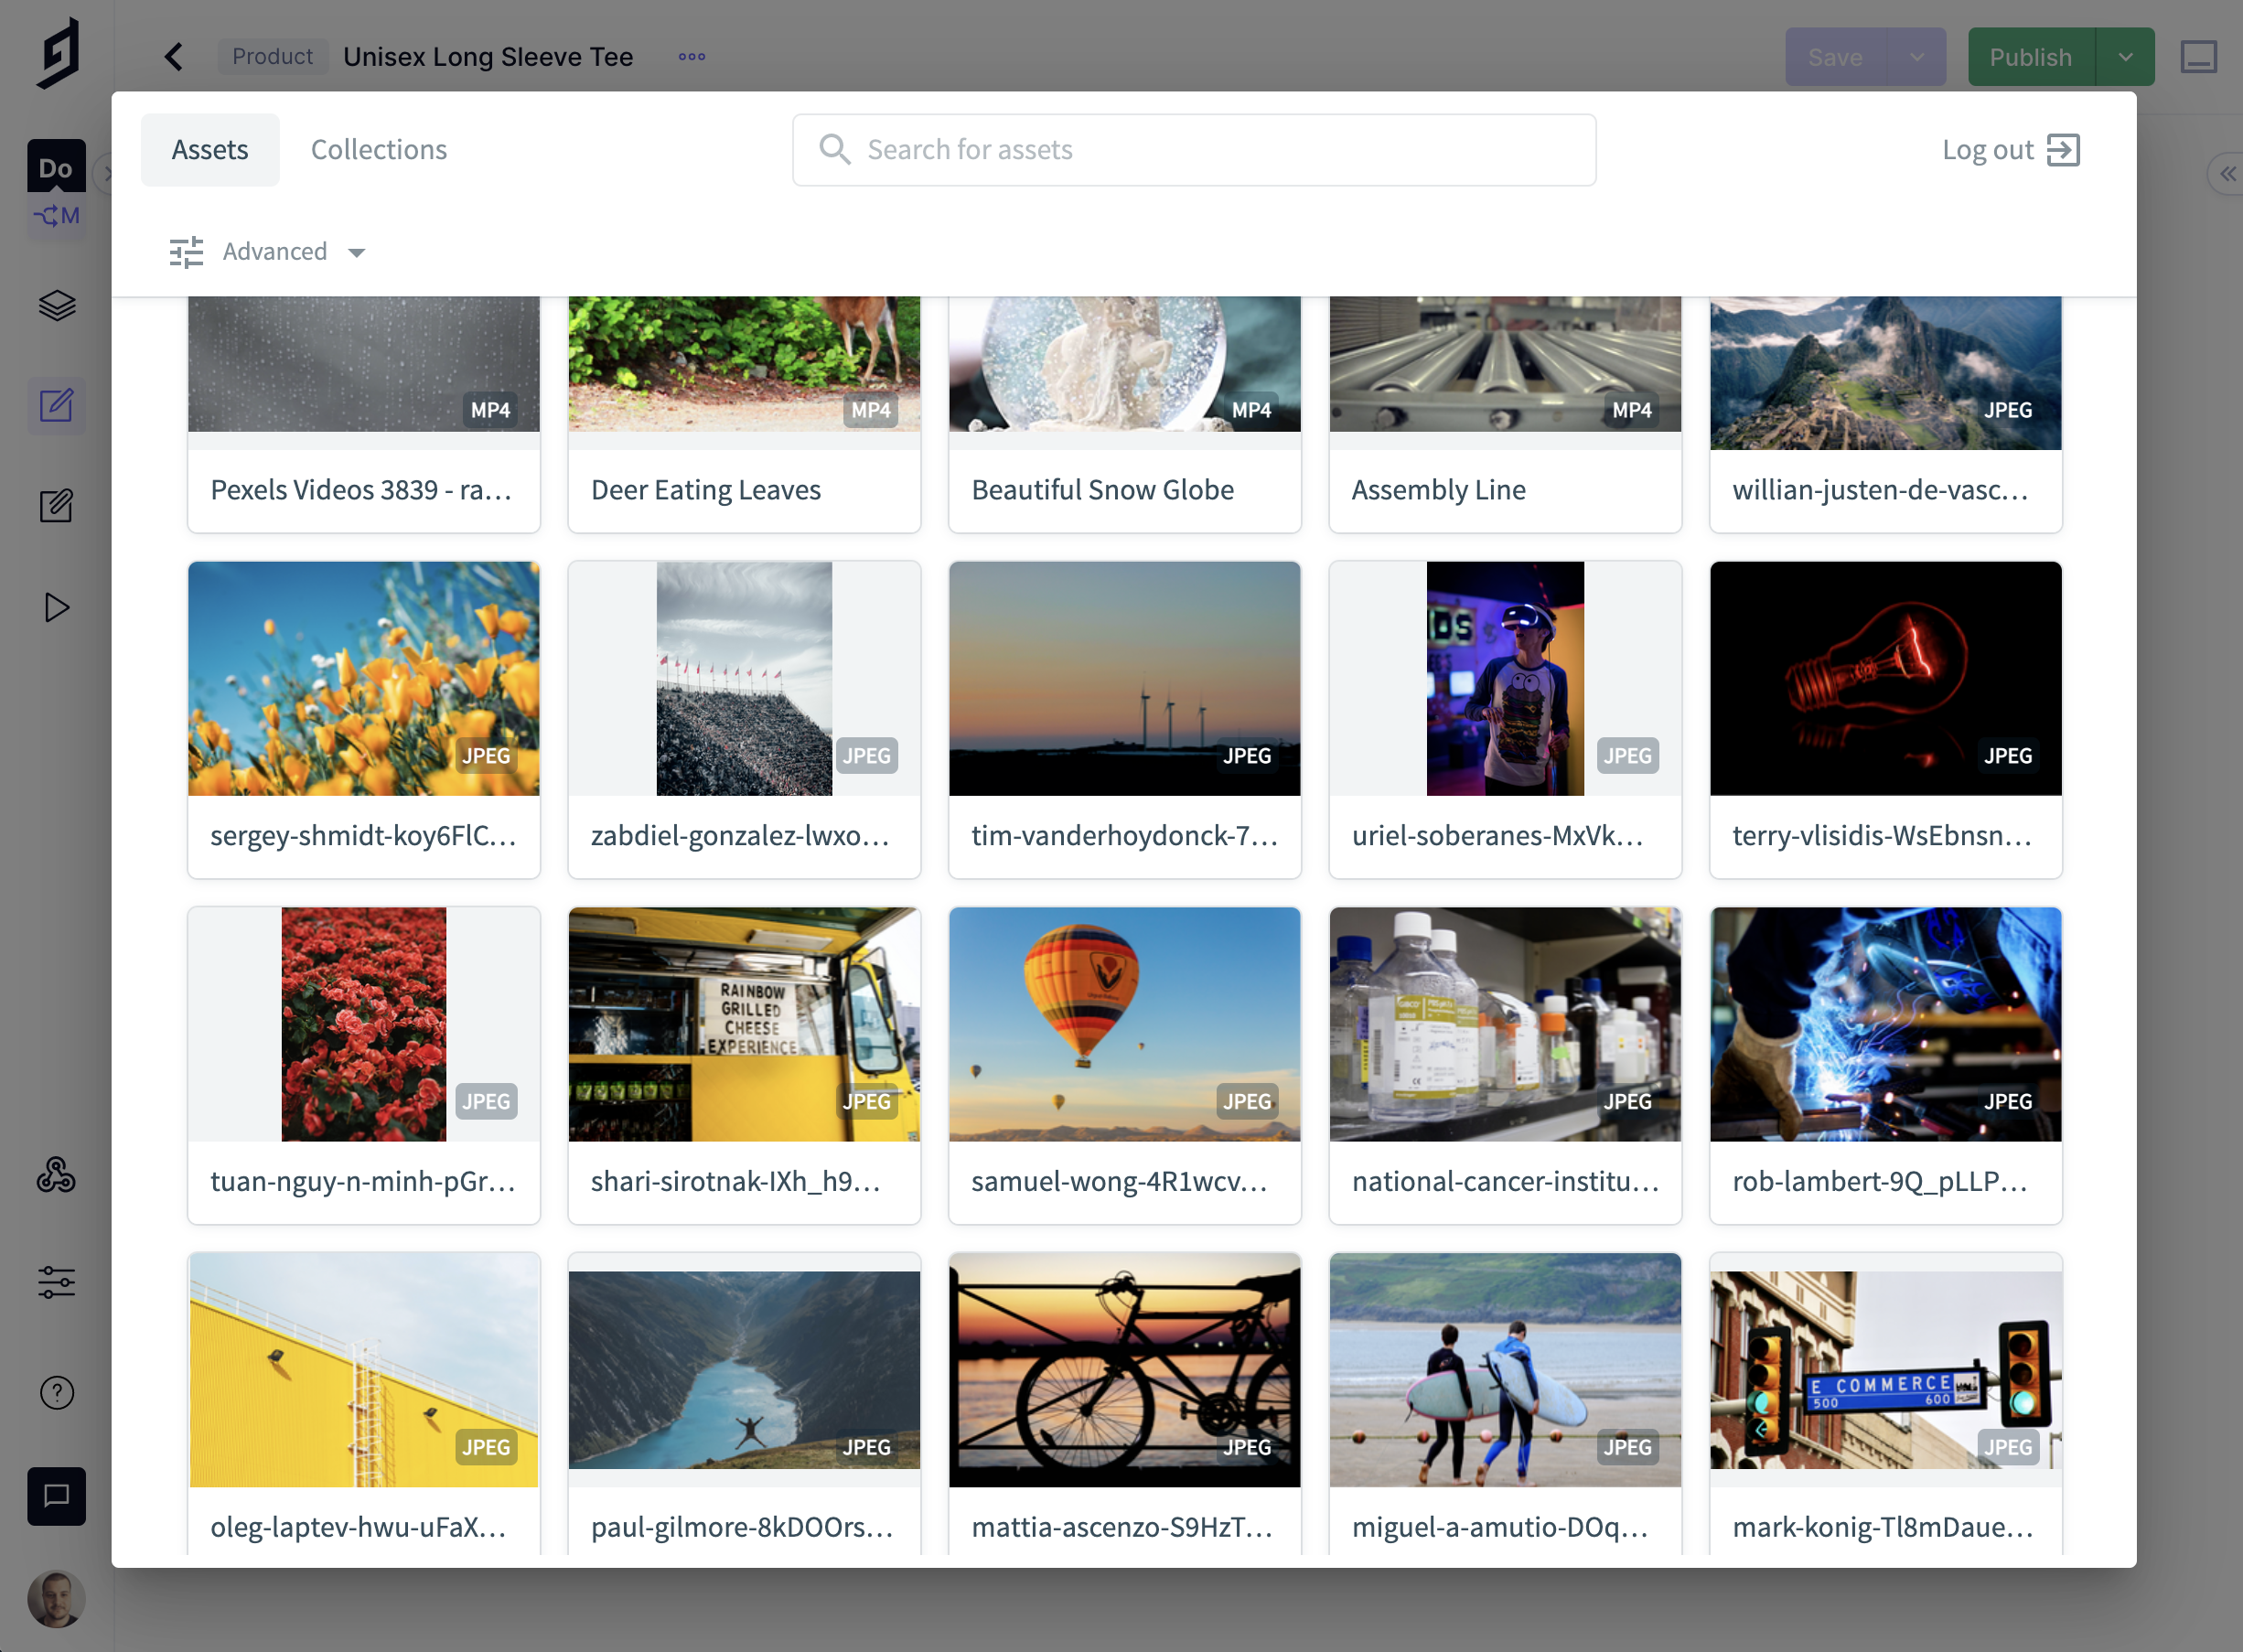
In this case, the UI Extension invokes Bynder's Compact View v2 component to browse and select assets.
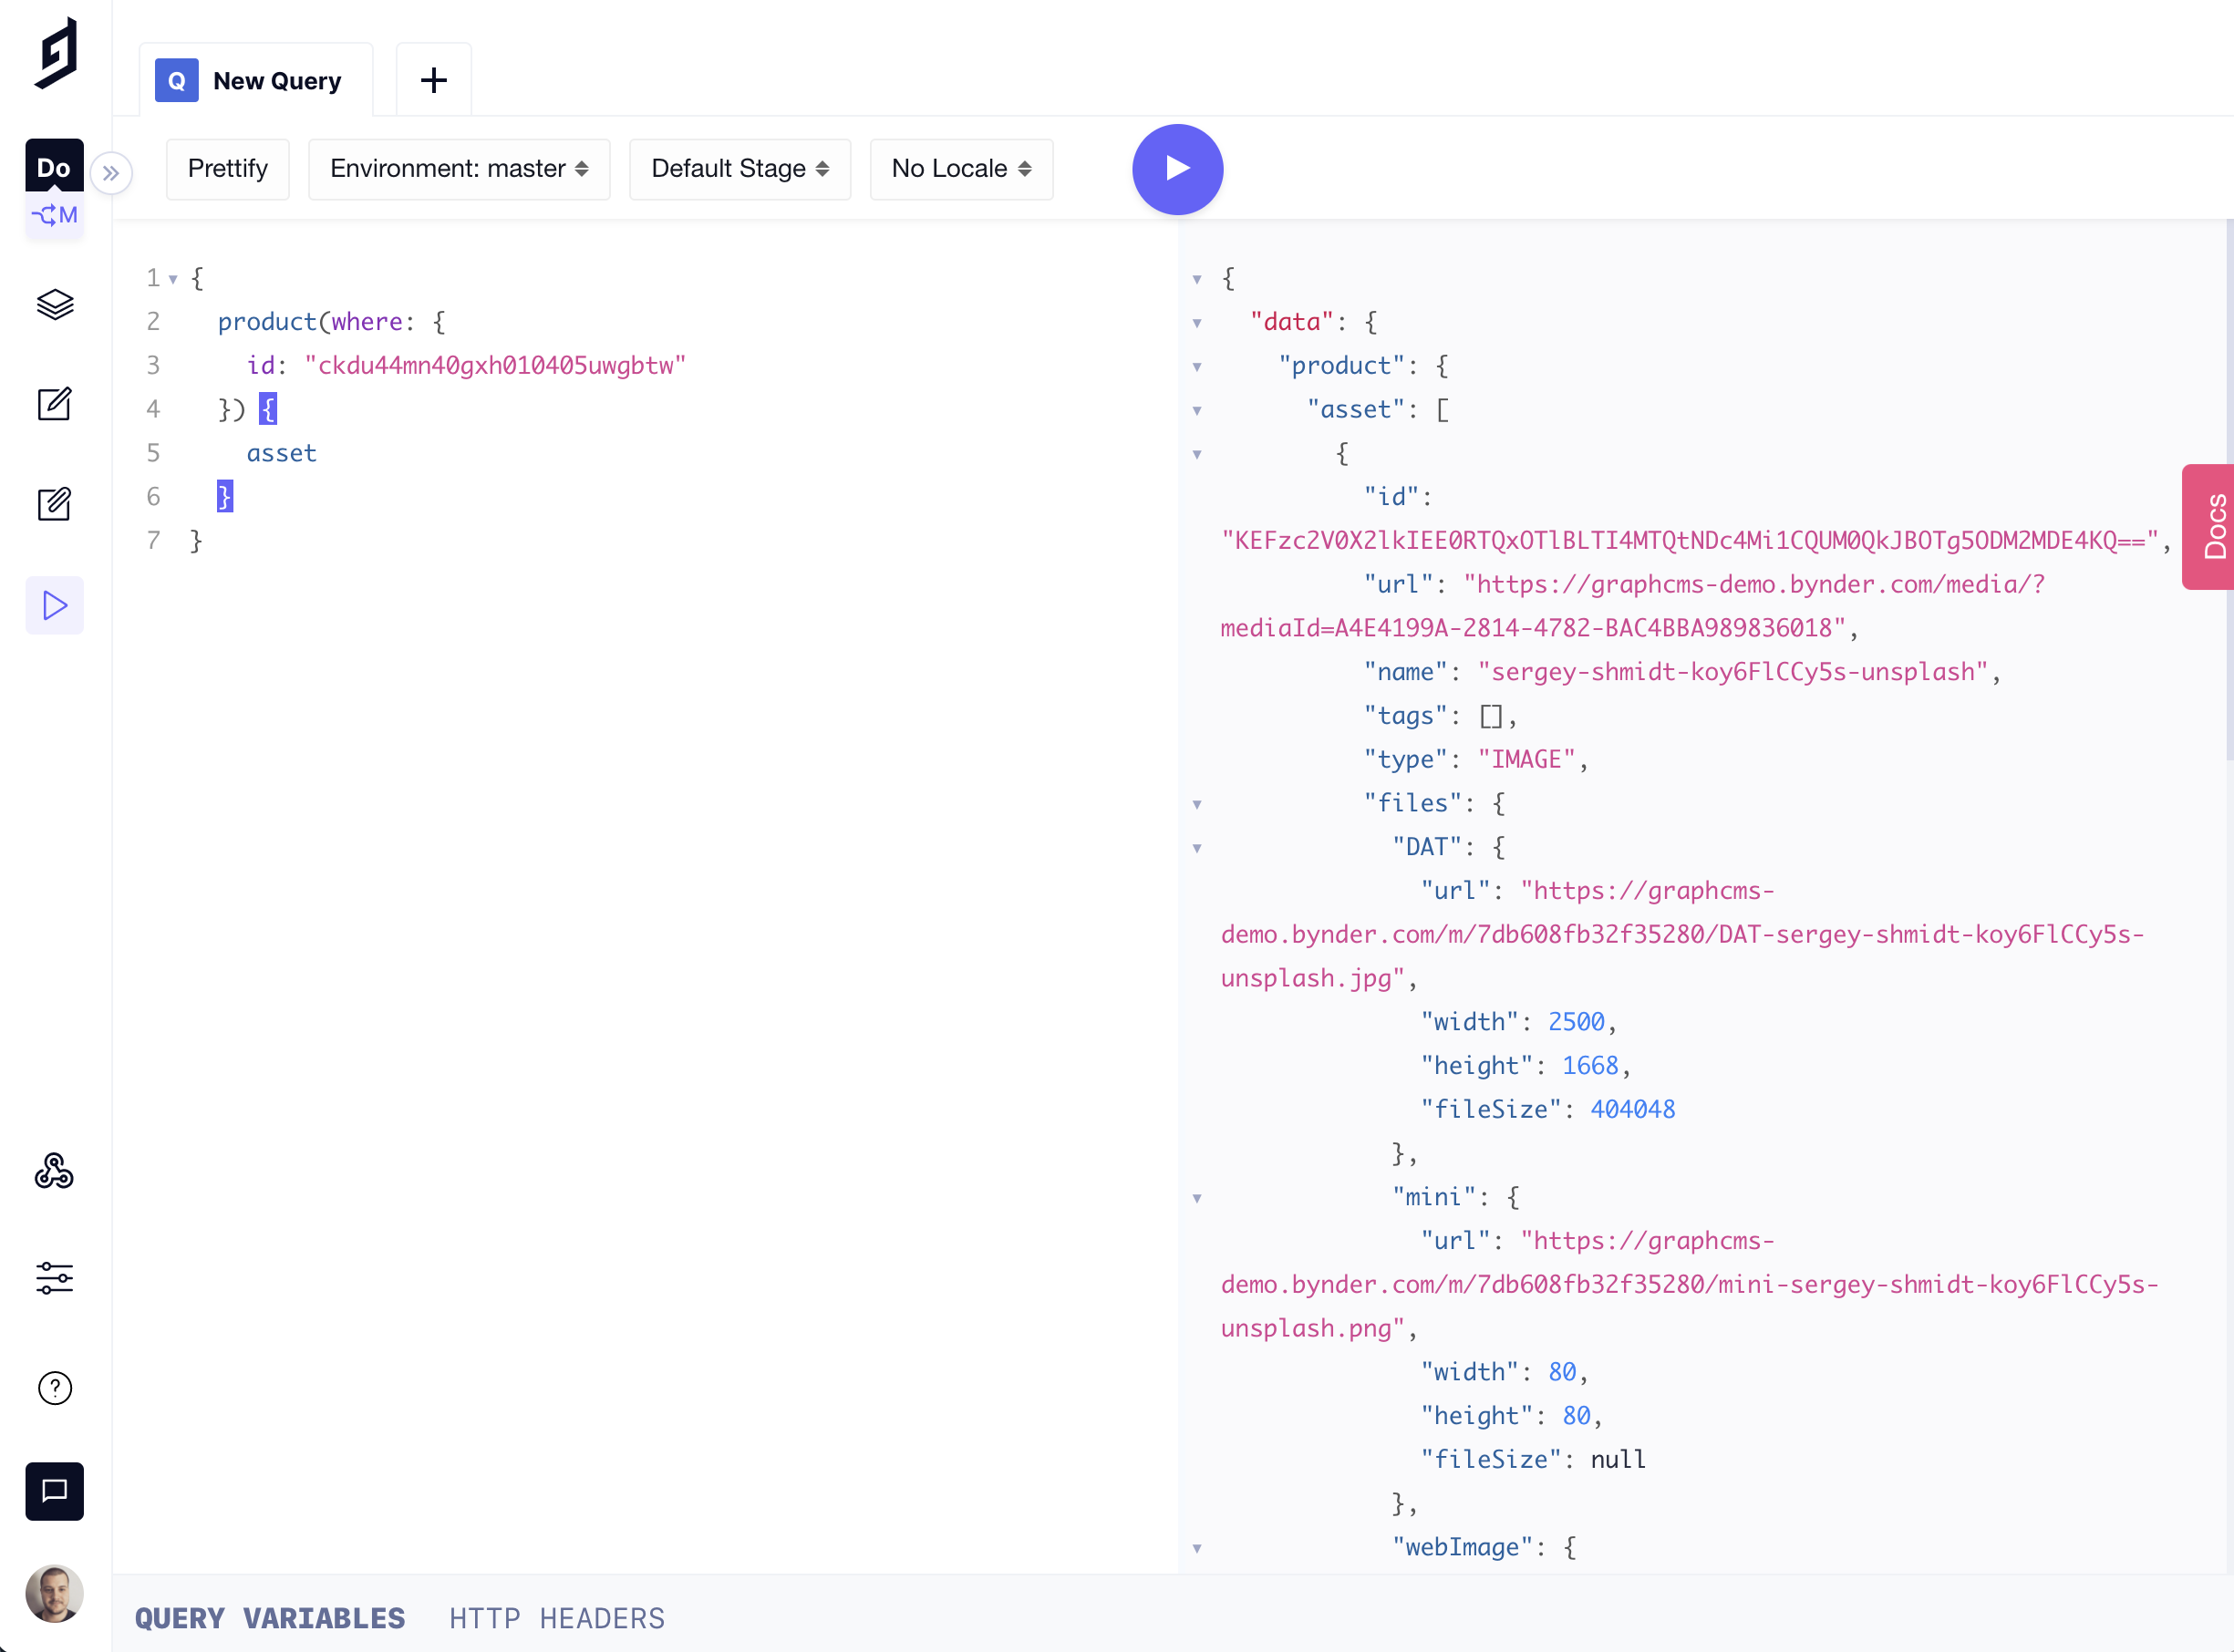
That's it! You can see here that content editors now have the power to work with digital assets stored within another system, and developers can query that JSON data Bynder stored directly from GraphCMS:


